How to convert iPhone photos to JPG on a Mac
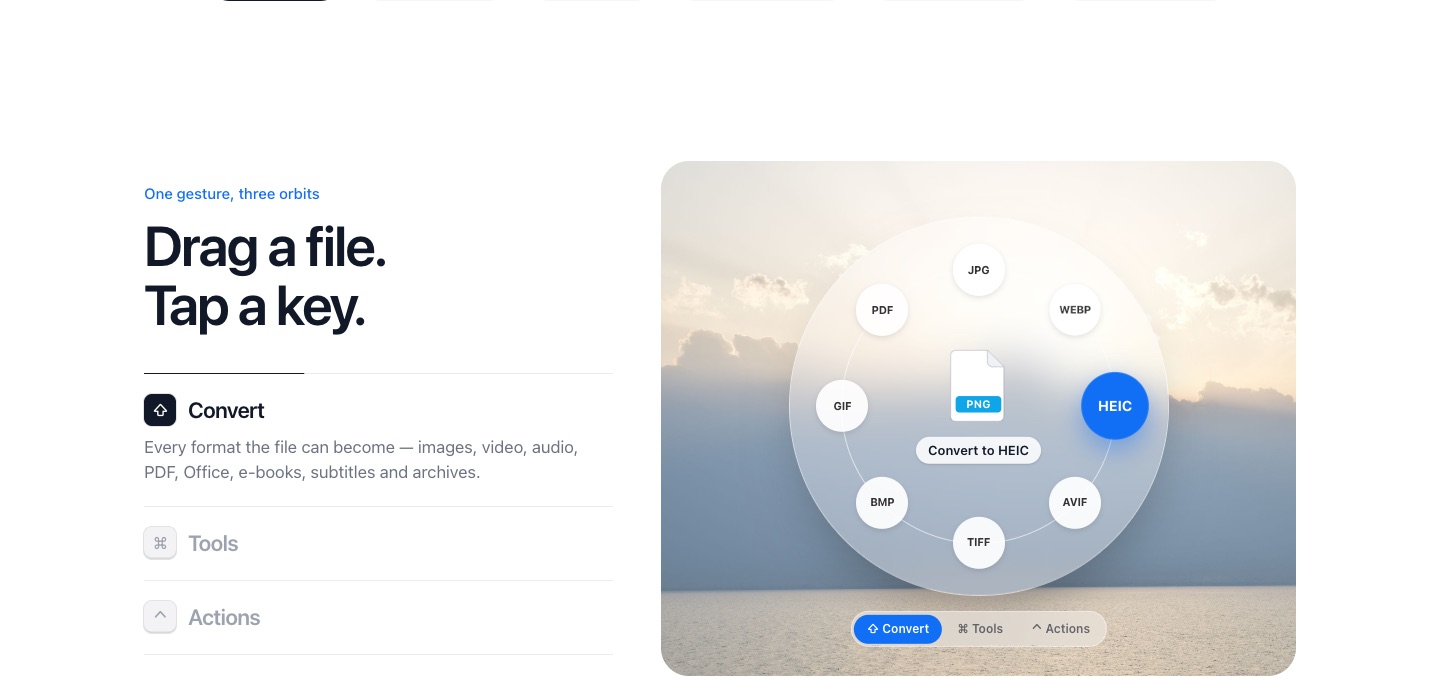
A Mac opens HEIC photos fine, but the websites and people you send them to may not. You can convert them in Preview one at a time, or with PlanetOS by dragging them, tapping Shift and dropping them on JPG.
How it works
- 1
Select the HEIC photos in Finder and start dragging.
- 2
Tap Shift while you hold them.
- 3
Drop them on JPG. PlanetOS saves a JPG next to each photo. (Several at once needs Pro.)
With apps already on your Mac
- Preview: open the photo, choose File → Export, and pick JPEG. Fine for one or two.
- Photos: select photos, choose File → Export → Export Photos, and pick JPEG.
- Finder Quick Action: right-click a photo → Quick Actions → Convert Image → JPEG. Handy, though it's buried in a menu.
With PlanetOS
PlanetOS is faster when you do this often: there's no app to open or menu to dig through, and you can pick JPG quality once in Settings → Formats. The photos stay on your Mac. Details on HEIC to JPG.
PlanetOS does all of this on your computer. Your files are never uploaded, and it works without an internet connection.
Questions
Can I make my iPhone take JPGs instead?
Yes: Settings → Camera → Formats → Most Compatible. The photos take more space on the phone.
PNG or JPG?
JPG for photos you share. PNG if you'll edit them heavily or need transparency.